How does the tracking work
What for ?
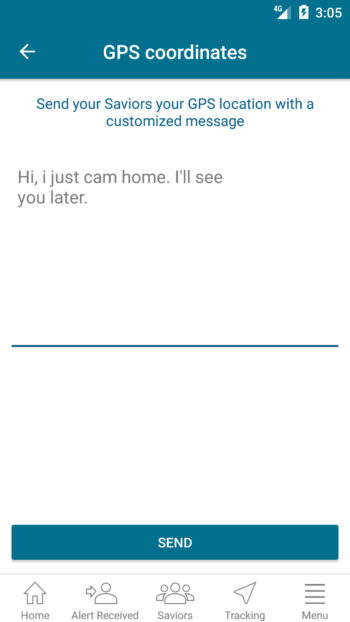
The tracking is used to record your GPS tracks during a hike, a walk or any movement.
To use it, you need to ENABLE THE TRACKING (it works as a countdown, e.g : I assume that I will jog for about 1 hour)
If I was not able to stop the countdown before its end, my saviors will receive the alerts.
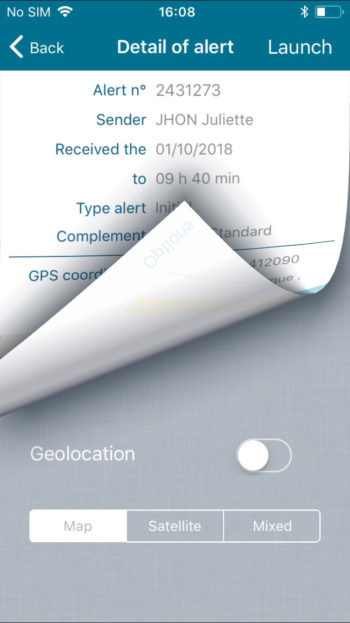
Enabling the tracking
The tracking has to be enabled in order for it to work, it also requires you to enter a start time and an ending time (for the countdown)
Then, you can click on the icons (Man/Bike/Car/Eco) according to your means of locomotion, because the frequency of the GPS position recorded will not be the same according to the filter you chose (e.g : if you go for a run, click on the man icon and your tracks will be recorded every 65ft.
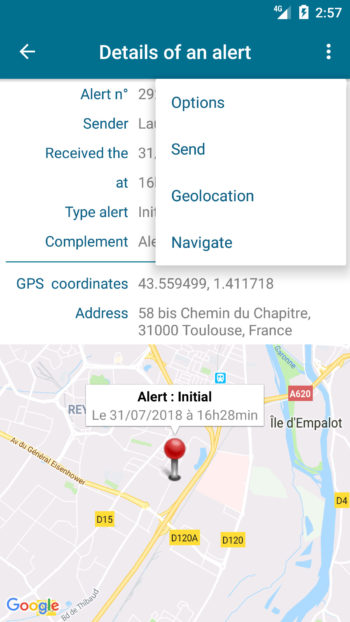
During the tracking (if the countdown is over)
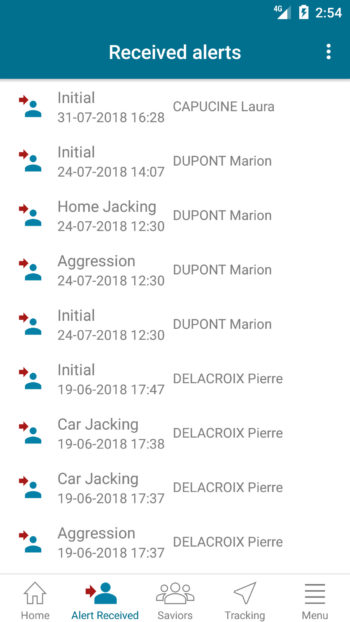
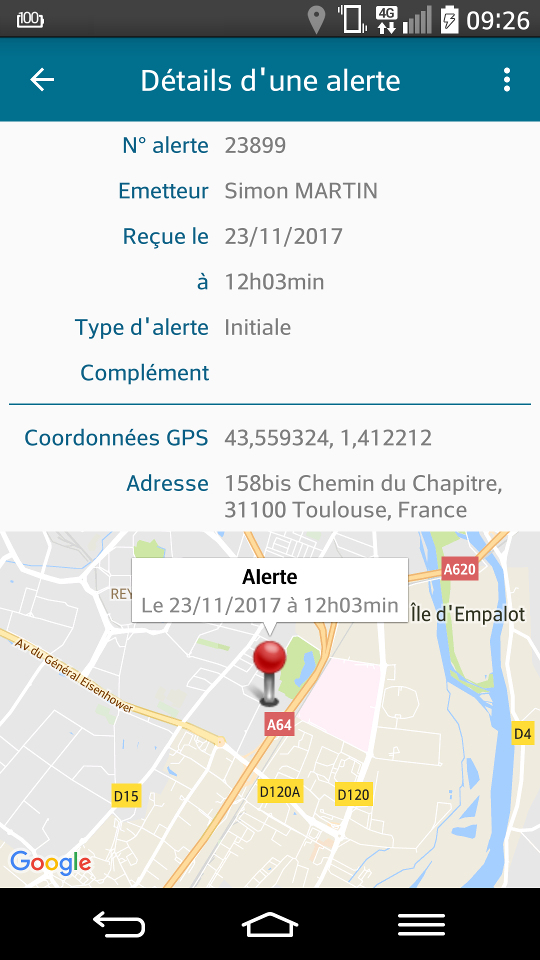
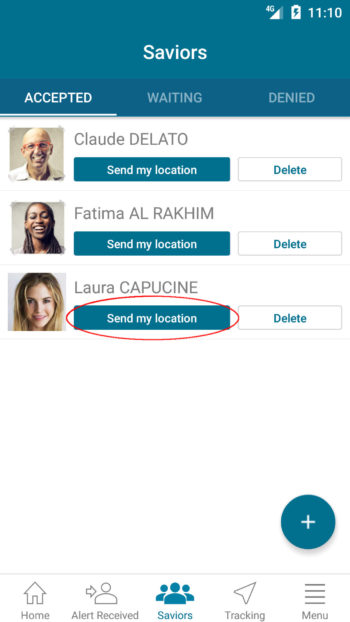
Your saviors will receive your alerts in real time on their phone, by email, and they will be able to see on the website (once logged into their account) the whole route you took since you enabled the tracking mode.
If you chose the man icon, your saviors will receive your positions (your alerts) every 65ft.
If you do not move, they will receive the alerts every 9 minutes.
During the tracking (while you and the countdown are running)
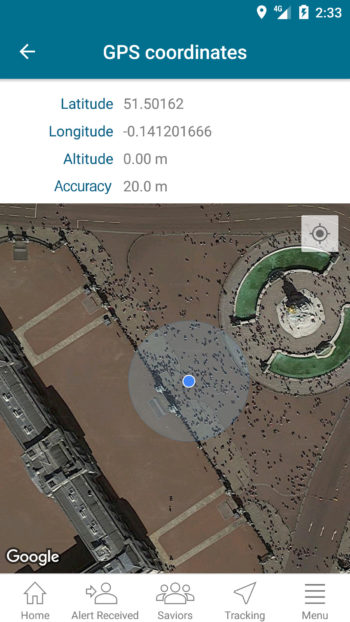
Your GPS positions are recorded, but your saviors doesn't receive any alert, they cannot know where you are.
During the tracking (if the countdown is over)
Your saviors will receive your alerts in real time on their phone, by email, and they will be able to see on the website (once logged into their account) the whole route you took since you enabled the tracking mode.
If you chose the man icon, your saviors will receive your positions (your alerts) every 65ft.
If you do not move, they will receive the alerts every 9 minutes.
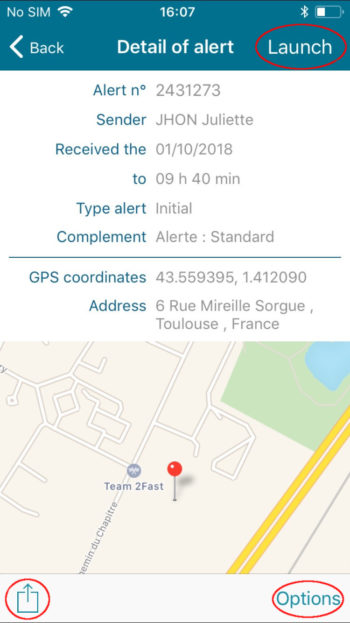
End the tracking
The tracking can be deactivated by clicking on the "DEACTIVATE THE TRACKING"
If you came back safe at home, do not forget to DEACTIVATE the tracking (countdown) or else your saviors will receive all the notifications, sound alerts and emails until you end it.